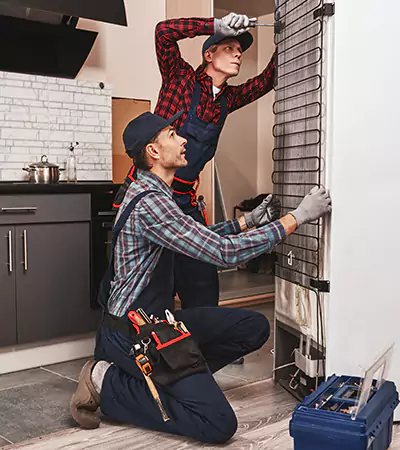
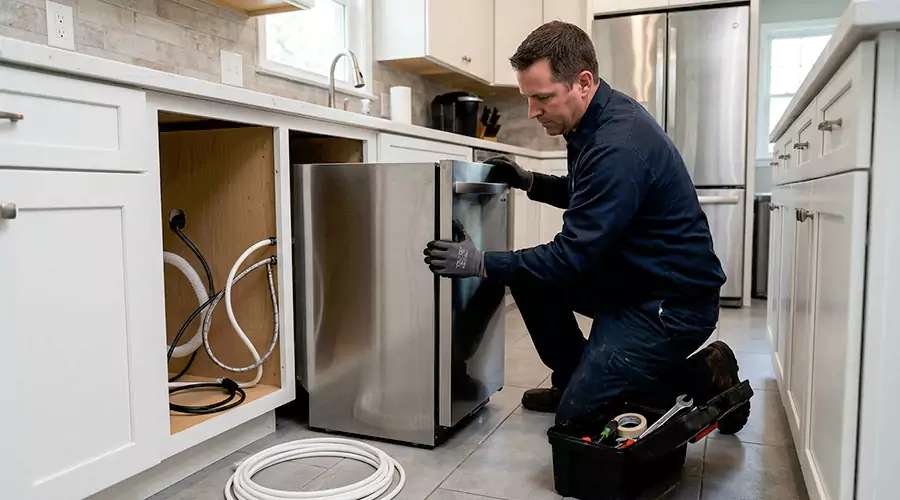
Adding an ice maker can make your refrigerator more convenient and improve everyday kitchen use. Many homeowners search for how to install ice maker instructions because they want a clear process before starting the job.
A proper setup requires the right kit, a secure water connection, and careful testing. When done correctly, ice maker installation helps your refrigerator produce steady ice without leaks or water pressure problems.
Before You Start the Installation
Before you begin, check your refrigerator model and confirm that it supports an ice maker. Some units already include internal wiring and mounting points for a refrigerator ice maker install.
Read the manufacturer’s manual before buying parts. The manual helps you choose the correct parts when you need to install ice maker kit components.
You should also inspect the area behind the refrigerator. A safe refrigerator water line needs enough space, a nearby cold water supply, and an accessible shutoff valve.
Quick Pre-Installation Checklist
- Confirm that your refrigerator model supports an ice maker.
- Check whether the freezer has factory mounting points.
- Review the manual before buying an ice maker kit.
- Make sure a cold water supply is close to the refrigerator.
- Leave enough room behind the appliance for tubing.
Tools and Materials You May Need
Most installations need basic hand tools and a kit made for the refrigerator. A standard ice maker kit setup includes a fill tube and mounting hardware. The kit also includes a water valve and wire harness. Some kits include an ice bin that fits the freezer section.
You need a drill and adjustable wrench for many installations. A tubing cutter and bucket also help during water line work. Ice maker plumbing needs extra fittings when the kitchen does not have a nearby water source. Use parts that match the refrigerator and water line.
Check every fitting before the ice maker hookup is complete. Weak tubing and loose connections can cause leaks after the refrigerator moves back into place.
Ice Maker Installation Overview
The table below gives a simple view of the main steps involved in the project.
| Step | What You Do | Why It Matters |
|---|---|---|
| 1 | Unplug the refrigerator | Keeps the setup safe before handling wiring |
| 2 | Mount the ice maker assembly | Secures the unit inside the freezer |
| 3 | Install the fill tube | Directs water into the ice tray |
| 4 | Connect the water valve | Controls water flow into the system |
| 5 | Run the water line | Supplies water from the cold line |
| 6 | Test all fittings | Helps prevent leaks behind the appliance |
| 7 | Start the ice maker | Begins the first ice production cycle |
Step 1: Unplug the Refrigerator
Always unplug the refrigerator before working near wiring or internal parts. This safety step protects you during the freezer ice maker setup process.
Move the refrigerator carefully away from the wall. Avoid pulling too hard because an existing water line or power cord may be behind the unit.
Step 2: Install the Ice Maker Assembly
Open the freezer and find the mounting area for the ice maker. Most compatible units include screw holes or capped openings for install freezer ice maker hardware.
Attach the ice maker assembly according to the manufacturer’s instructions. Keep the unit level so water fills the tray evenly and ice cubes release properly.
Connect the wire harness inside the freezer if your model includes one. A secure ice maker connection allows the control system to power the ice maker and manage the fill cycle.
Assembly Tips
- Keep the ice maker level before tightening the screws.
- Do not force parts that do not line up correctly.
- Make sure the ice bin slides in without hitting the unit.
- Check that the shutoff arm can move freely.
Step 3: Install the Fill Tube
The fill tube carries water from the back of the refrigerator into the ice maker tray. During refrigerator accessory installation, this part must line up correctly with the ice maker inlet.
Insert the fill tube through the rear opening of the freezer compartment. Make sure it sits firmly and does not block the ice maker arm or ice bin.
If the tube is loose, warm air can enter the freezer and cause frost buildup. A poor fit may also splash water inside the freezer during each fill cycle.
Step 4: Connect the Water Valve
Many refrigerators need a water inlet valve installed near the lower rear panel. Proper ice maker valve installation controls when water flows into the ice maker.
Remove the access panel and position the valve as directed in the manual. Connect the wiring harness and secure the valve with the provided screws.
Attach the water tubing to the valve fitting. Tighten it carefully because overtightening can damage threads and undertightening can cause leaks.
Step 5: Run the Water Line
The next step is ice maker water line installation from the cold water supply to the refrigerator. Use approved tubing such as copper or braided stainless steel when required by local code.
Connect the water line to a cold water pipe or an existing shutoff valve. Avoid using a hot water line because it can affect ice quality and appliance performance.
Leave enough slack behind the refrigerator so you can move it for cleaning or service. A tight line can kink, restrict water flow, or pull loose when the appliance shifts.
Water Line Safety Tips
- Use tubing that matches the refrigerator manufacturer’s guidelines.
- Keep the line away from sharp edges.
- Avoid tight bends behind the refrigerator.
- Use a shutoff valve that remains easy to reach.
- Replace damaged tubing before completing the connection.
Step 6: Test the Connection
Turn on the water supply slowly and inspect every fitting. A careful test after kitchen appliance installation can prevent hidden water damage behind cabinets or flooring.
Check the valve, tubing, and refrigerator connection with a dry paper towel. Even a small drip should be corrected before pushing the refrigerator back into place.
Plug the refrigerator back in once the water line looks secure. Allow the freezer to reach the proper temperature before expecting full ice production.
Step 7: Start the Ice Maker
Lower the ice maker arm or switch the unit on, depending on your model. The first cycle after add ice maker to refrigerator work may take several hours.
Throw away the first few batches of ice. New tubing and parts can leave small particles or taste in the first production cycle.
Watch the ice bin over the next day. Normal production depends on freezer temperature, water pressure, and how often the freezer door opens.
DIY Ice Maker Installation Tips
A careful homeowner may handle DIY ice maker installation if the refrigerator is compatible and the water supply is already nearby. The job becomes easier when the kit matches the appliance and the manual gives clear steps.
Do not rush the plumbing portion. Most problems come from loose fittings, kinked tubing, incorrect valves, or poor positioning behind the refrigerator.
Avoid saddle valves when local code discourages them. A dedicated shutoff valve often provides a stronger and more serviceable connection.
Common DIY Mistakes to Avoid
- Do not use a kit that does not match the refrigerator model.
- Do not skip the leak test after tightening fittings.
- Do not crush the water line when moving the refrigerator back.
- Do not turn on the ice maker before the freezer is cold enough.
- Do not ignore weak water flow or unusual valve noise.
When to Call a Professional?
Some homes need extra plumbing work before the ice maker can run safely. Professional ice maker installation is a smart choice when there is no nearby cold water line or when the refrigerator requires complex wiring.
You should also call a technician if you see leaks, low water pressure, buzzing valves, or ice maker error codes. A trained installer can test the system and confirm the appliance operates correctly.
A licensed appliance installation service can help protect your floors, cabinets, and refrigerator warranty. Professional help is often worth it when the setup involves plumbing changes or tight kitchen spaces.
Common Ice Maker Installation Problems
Using the wrong kit can stop the ice maker from fitting or working correctly. Always confirm the model number before starting the ice maker installation guide process.
Another common mistake is pushing the refrigerator too close to the wall. Crushed tubing can reduce water flow and stop ice production.
Skipping the leak test can also cause expensive damage. Always inspect connections before and after the refrigerator returns to its final position.
Final Thoughts
Learning how to install an ice maker can help you understand the steps, tools, and safety checks involved. A successful installation depends on the correct kit, a stable water line, and careful testing.
If the setup feels beyond your comfort level, contact a qualified technician. A properly installed ice maker gives your kitchen more convenience while reducing the risk of leaks, poor ice production, and appliance damage.